Looking for an inexpensive backyard water activity your kids will play with for hours?
Here’s exactly how I made our giant DIY water blob using plastic sheeting, an iron, and a garden hose.
Don’t forget to pin it to Pinterest 📌
This post contains affiliate links. For more information, please read my disclosure here.
What Is a Water Blob?
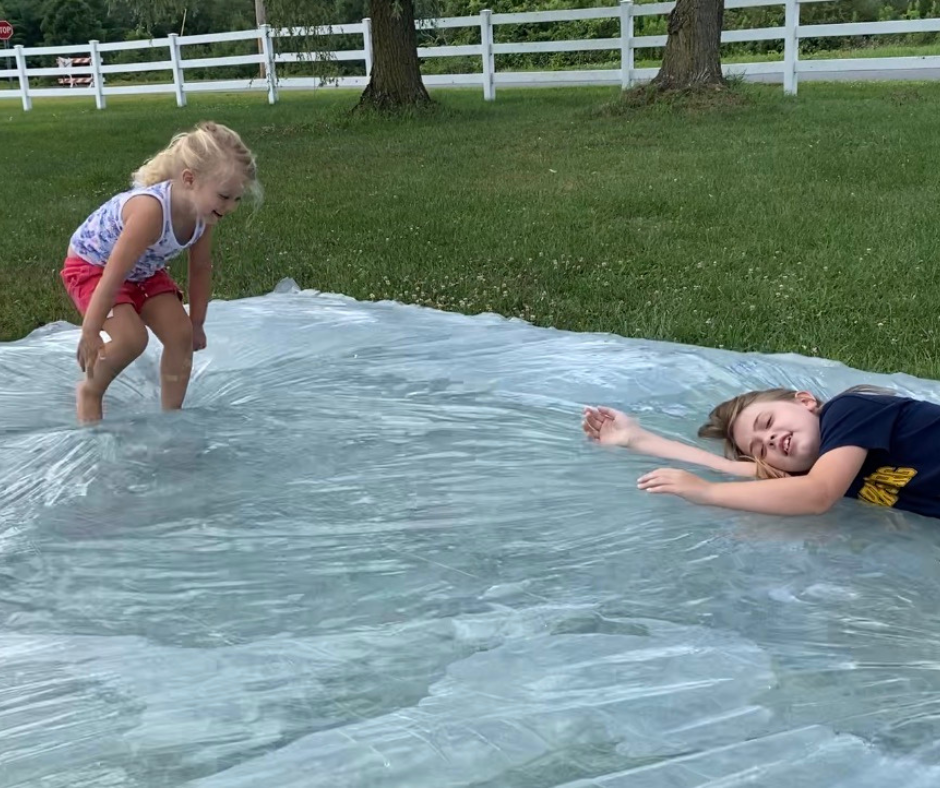
A water blob is basically a giant sealed bag filled with water that kids can bounce, crawl, slide, and splash on.
It feels a little like a waterbed and is surprisingly fun, especially for toddlers and preschoolers.
My girls spent hours climbing on it, rolling across it, and trying to make waves for each other.
Even my 9-year-old (who weighs around 100 pounds) had a blast. She could still play on it just fine, although it definitely held up better with my younger girls.
Supplies You’ll Need
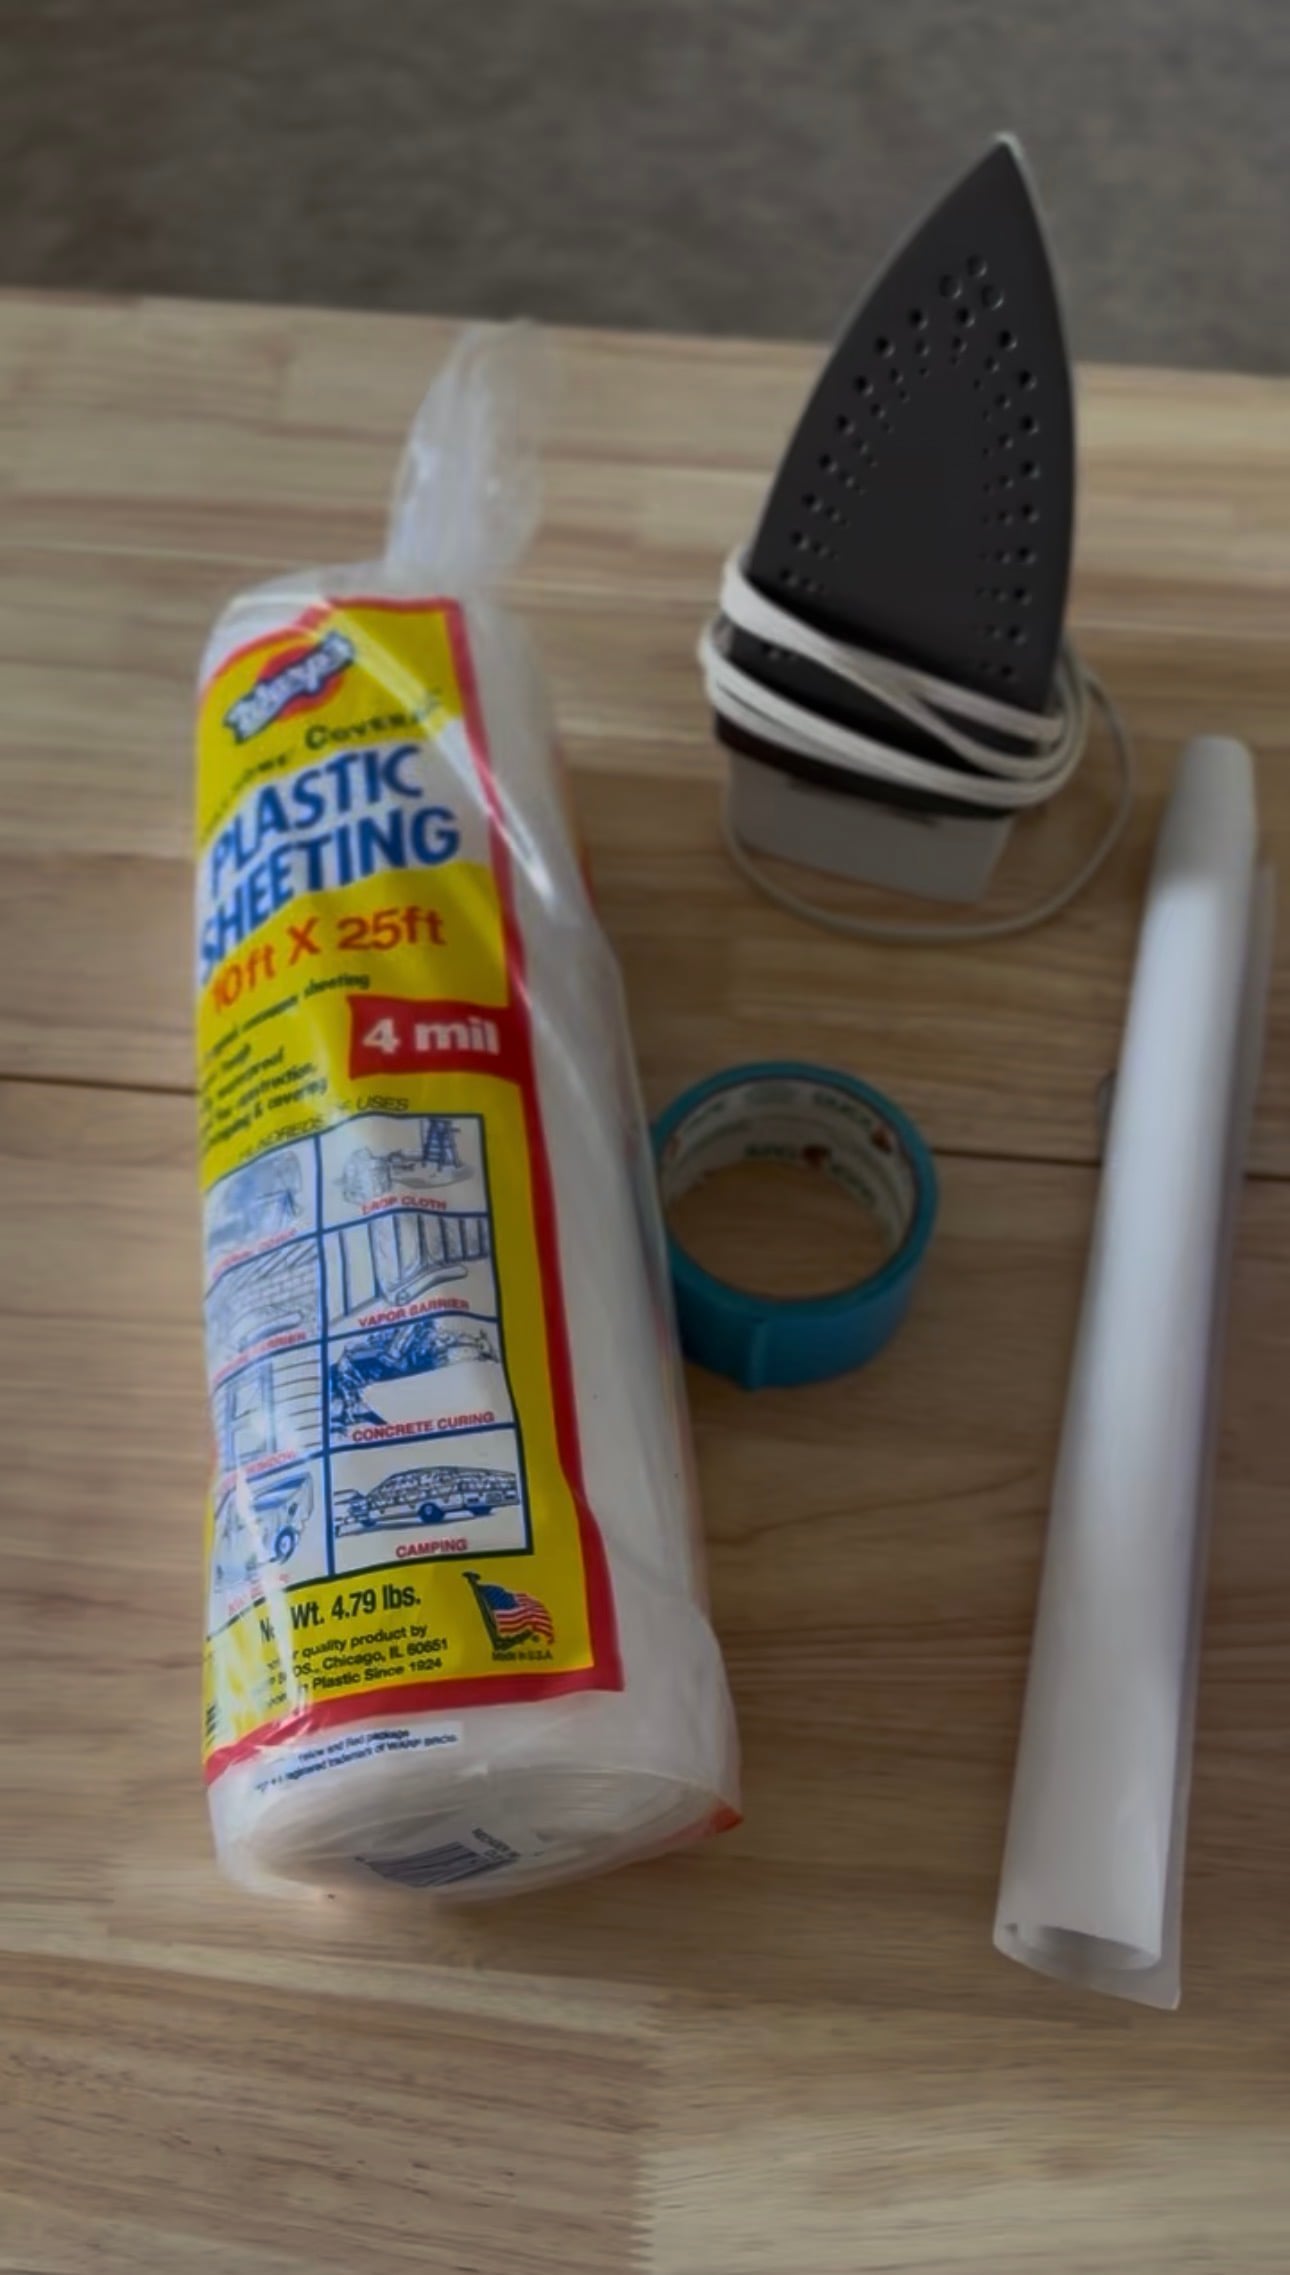
To make your own DIY water blob you’ll need:
– Duct tape
– An iron
– A towel
– Parchment paper
– A garden hose
How to Make a DIY Water Blob
Step 1: Fold the Plastic
Lay the plastic sheeting flat on the floor and fold it in half.
I found it easiest to work on the floor where everything could stay nice and flat.
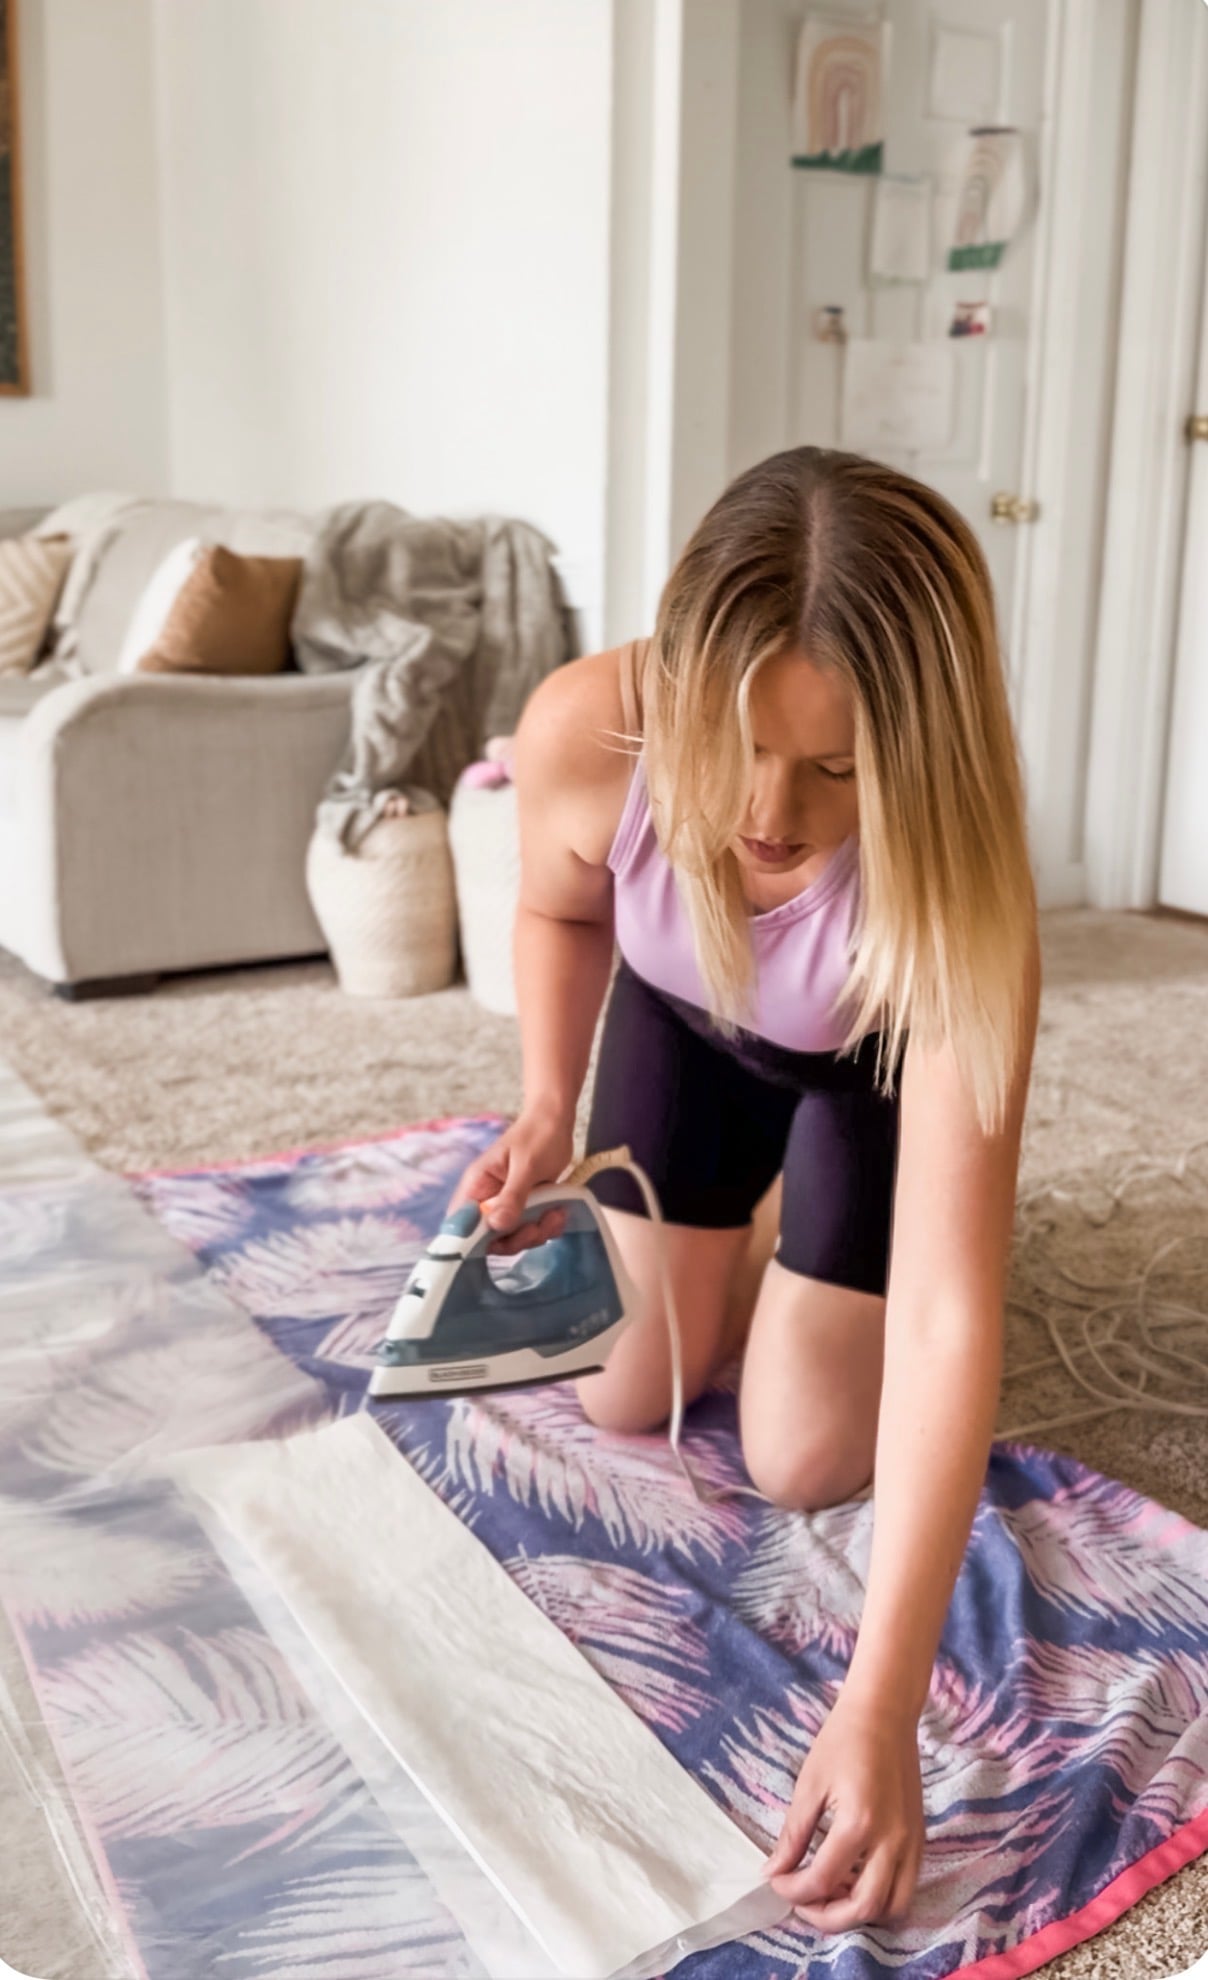
Step 2: Protect the Plastic
Place a towel underneath the plastic to protect your floor.
Step 3: Seal the Edges
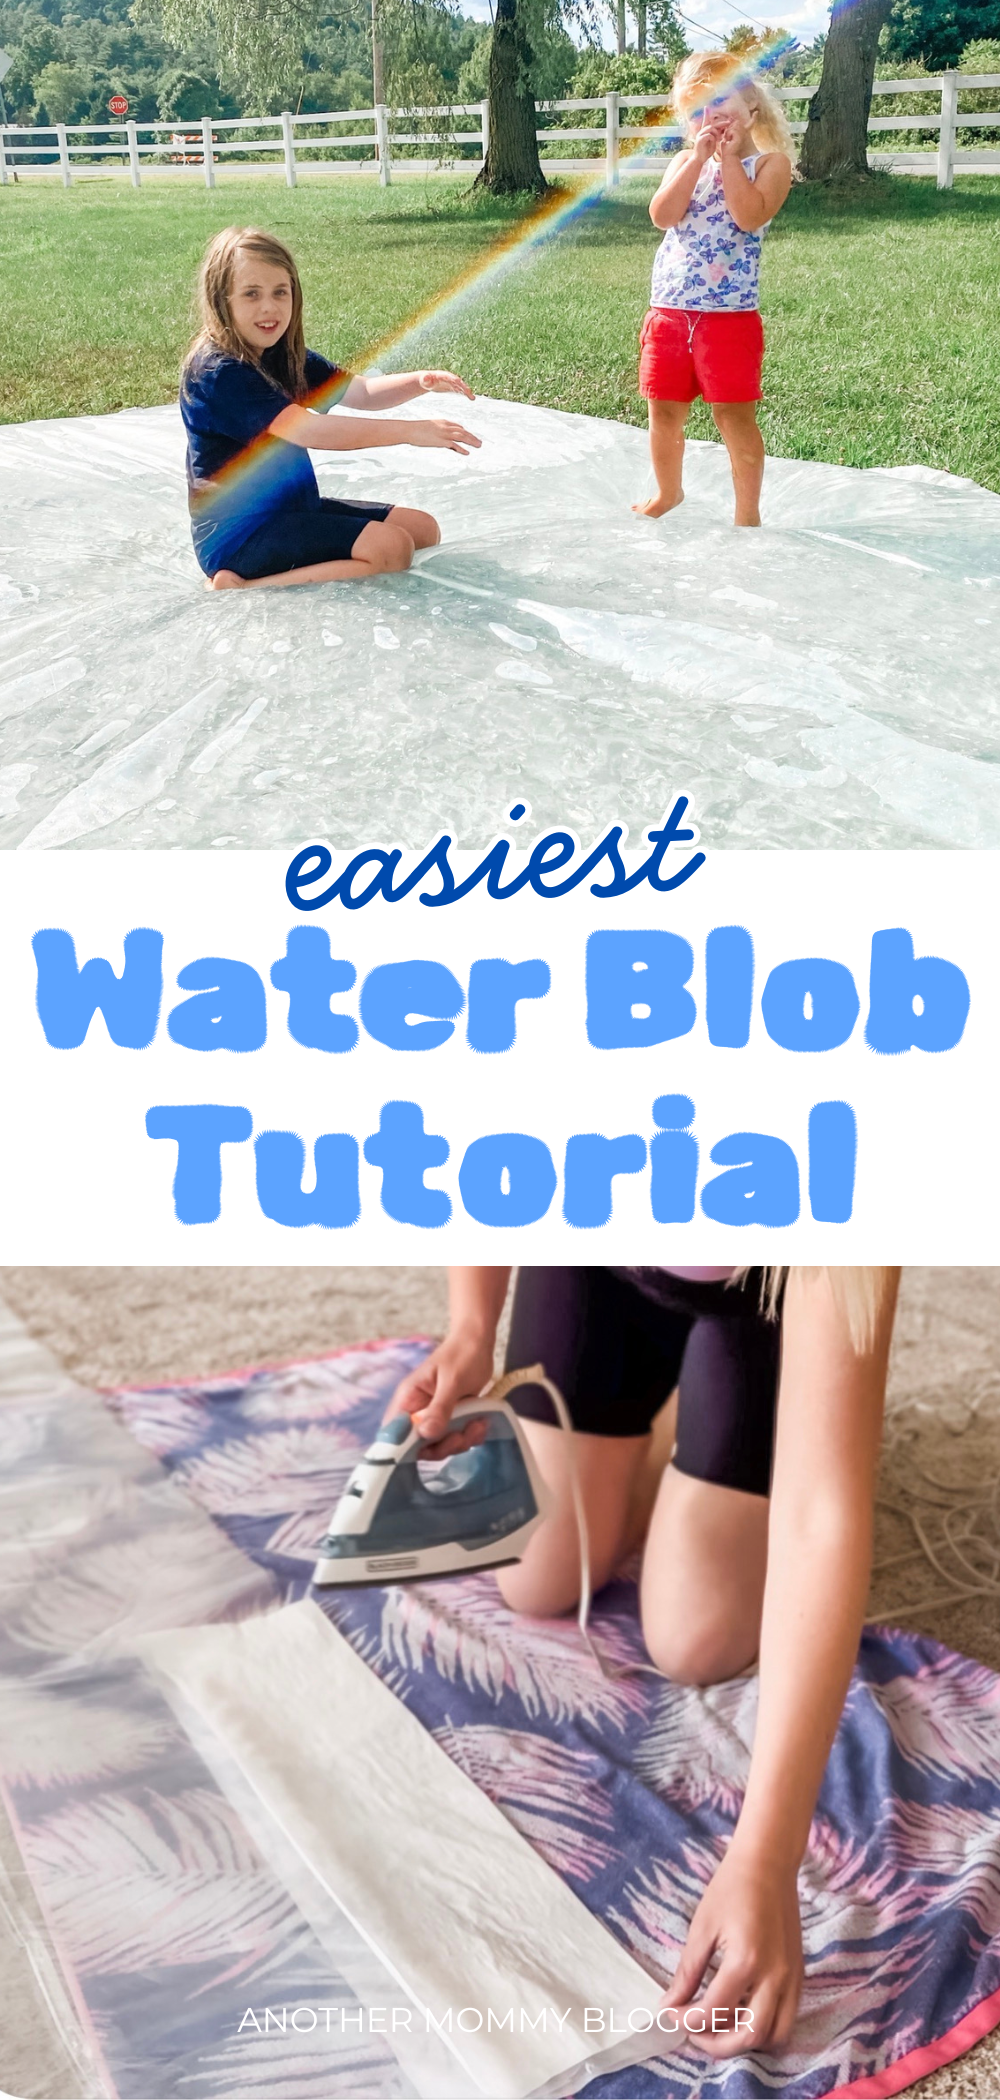
Set your iron to medium heat.
Fold a piece of parchment paper over the edge of the plastic.
Run the iron slowly across the parchment paper to melt the two layers of plastic together.
Continue around three sides, leaving one small opening for your garden hose.
Tip: Don’t rush this step. A slow, even pass with the iron creates a much stronger seal.
Step 4: Reinforce the Seams
This is the one thing I’d do differently if I made another one.
Mine held together well, but when I started filling it I found a few tiny holes in the seams that needed to be patched with duct tape.
Next time I’d cover the entire sealed edge with duct tape before adding any water. I think it would make the water blob much more durable.
Step 5: Fill It With Water
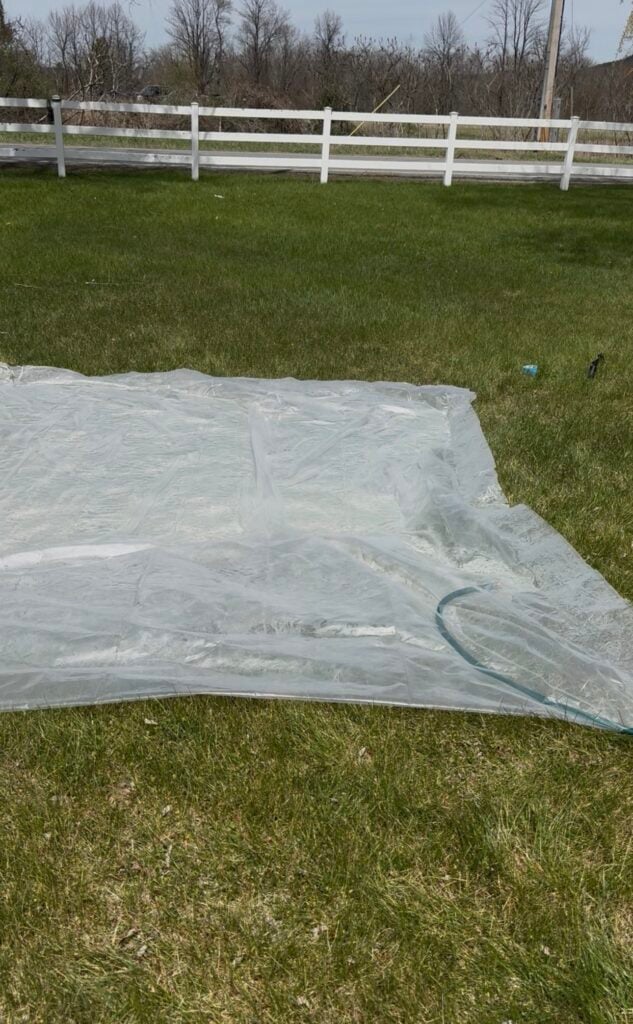
Slide your garden hose into the opening you left and begin filling the water blob.
Ours took about 2 to 3 hours to fill.
Once it’s full, remove the hose and seal the opening securely with duct tape.
If you notice any tiny leaks while it’s filling, just patch them with more duct tape.
Fun Things to Add Inside Your Water Blob
If you want to make it even more exciting, try adding:
- Food coloring
- Biodegradable glitter
- Small waterproof toys
- Foam letters or numbers
- Plastic sea animals
Does It Hold Adults?
I haven’t tried standing on ours but I have lied down on it with the kids.
It works best for toddlers and younger kids.
My oldest is 9 years old and around 100 pounds. She still had a lot of fun playing on it, but heavier kids put much more stress on the plastic when they walk on it.
Tips for Making Your DIY Water Blob Last Longer
– Use thick 4 mil plastic.
– Iron slowly so every seam seals completely.
– Reinforce every seam with duct tape.
– Fill it on soft grass.
– Patch small leaks immediately with duct tape.
– Empty and store it if you plan to reuse it.
Watch the Video Tutorial
If you’d rather watch the process, I filmed the entire project from start to finish.
You can watch my DIY Water Blob tutorial on TikTok, where I show exactly how I sealed the plastic, filled it, and tested it with my girls.
Final Thoughts
This was honestly one of the most fun backyard activities we’ve ever made.
It took a little patience while it filled, but once it was ready, the girls played on it for hours.
For the cost of a roll of plastic and a little duct tape, it ended up being one of our favorite summer activities.
If I make another one, I’ll definitely reinforce every seam with duct tape before filling it. I think that simple step will make it last much longer.