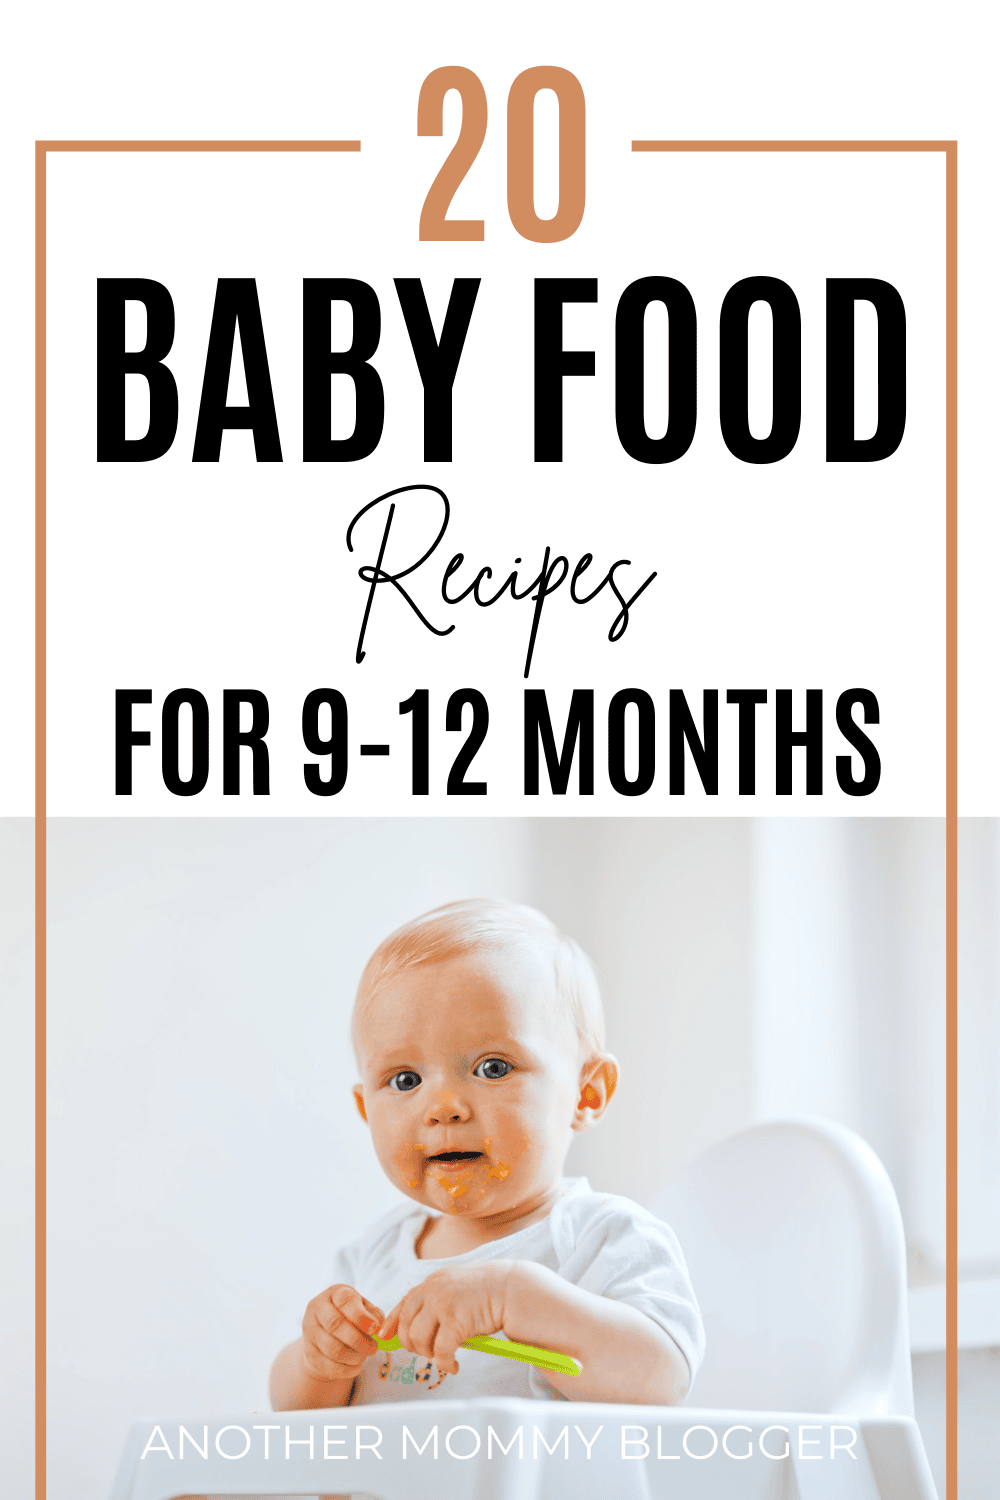
Let’s talk about stage 3 baby food! What is it? How do you make it? When can your baby have it?
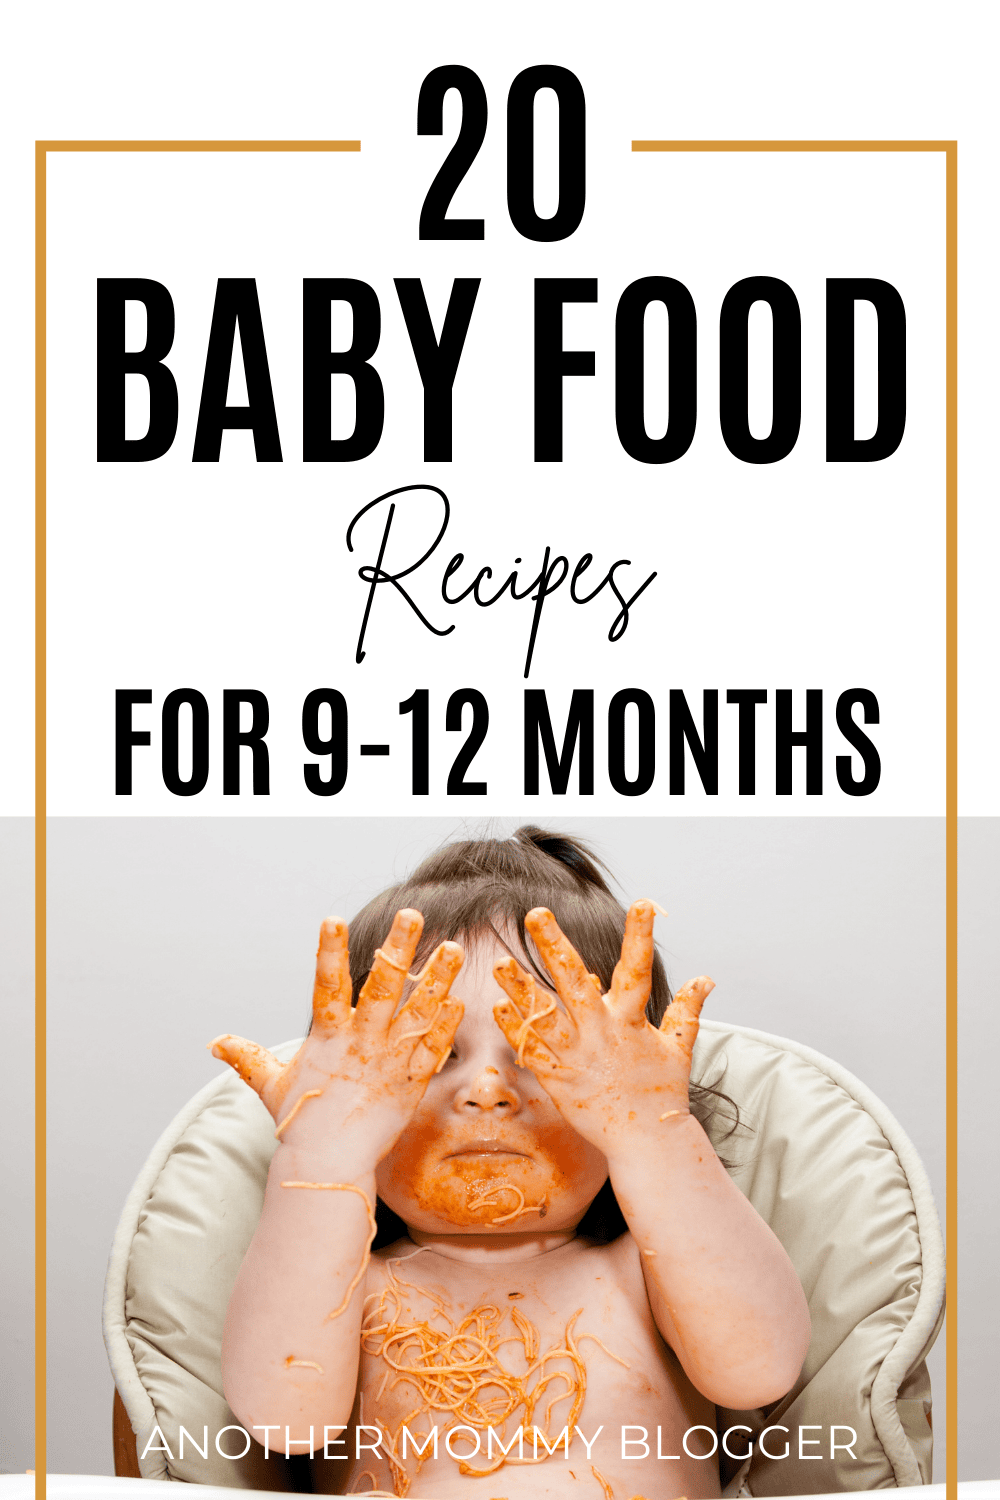
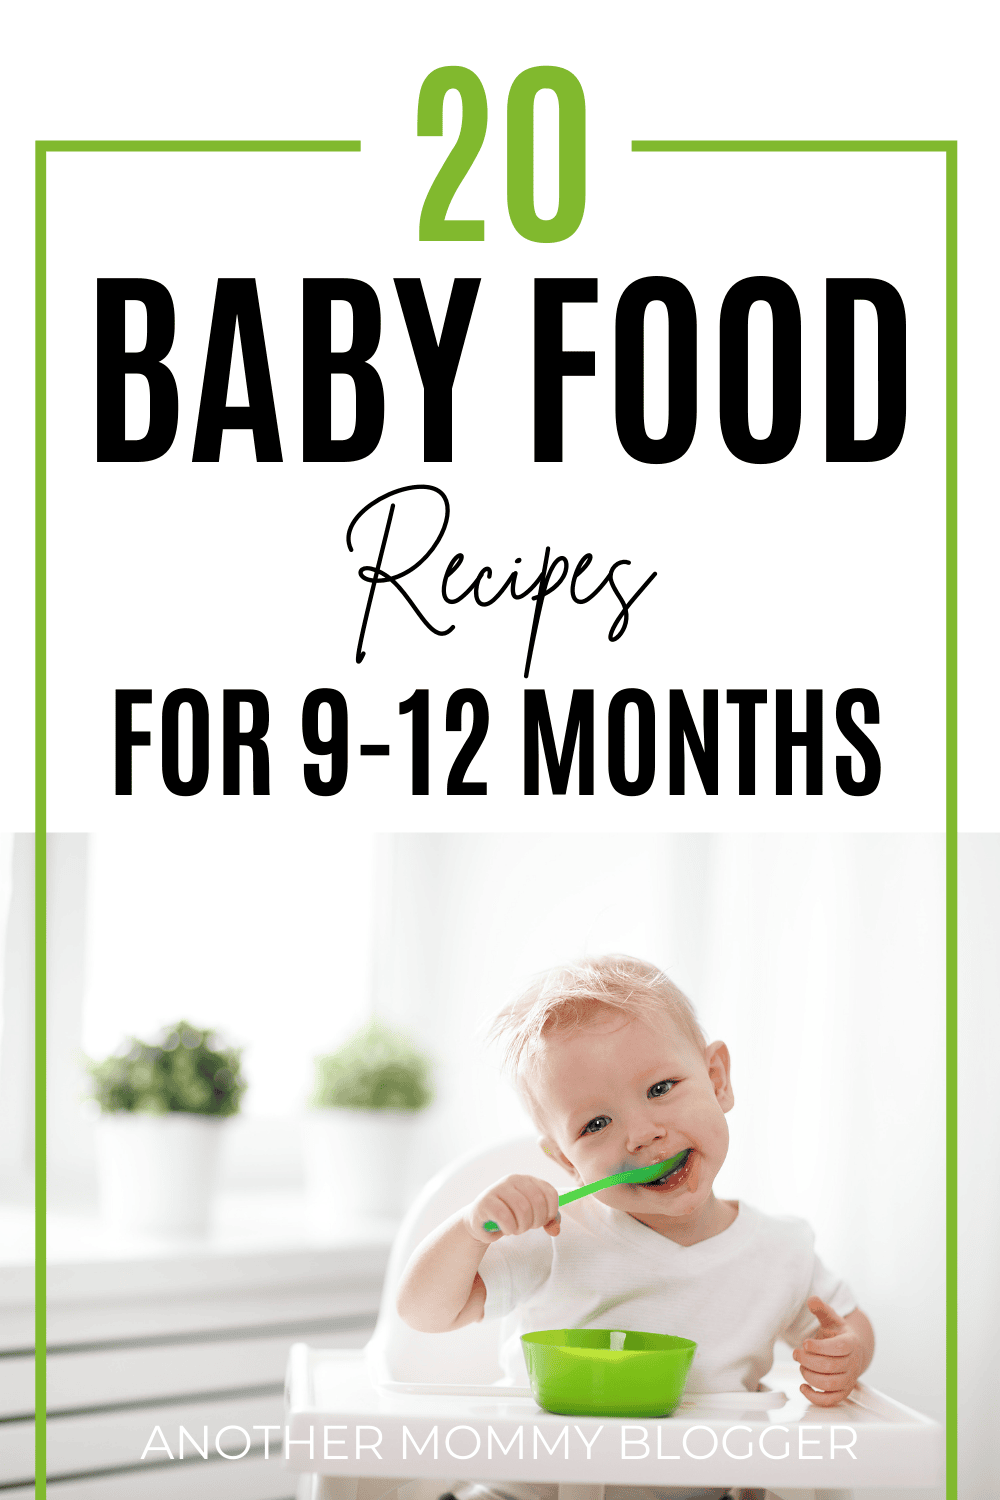
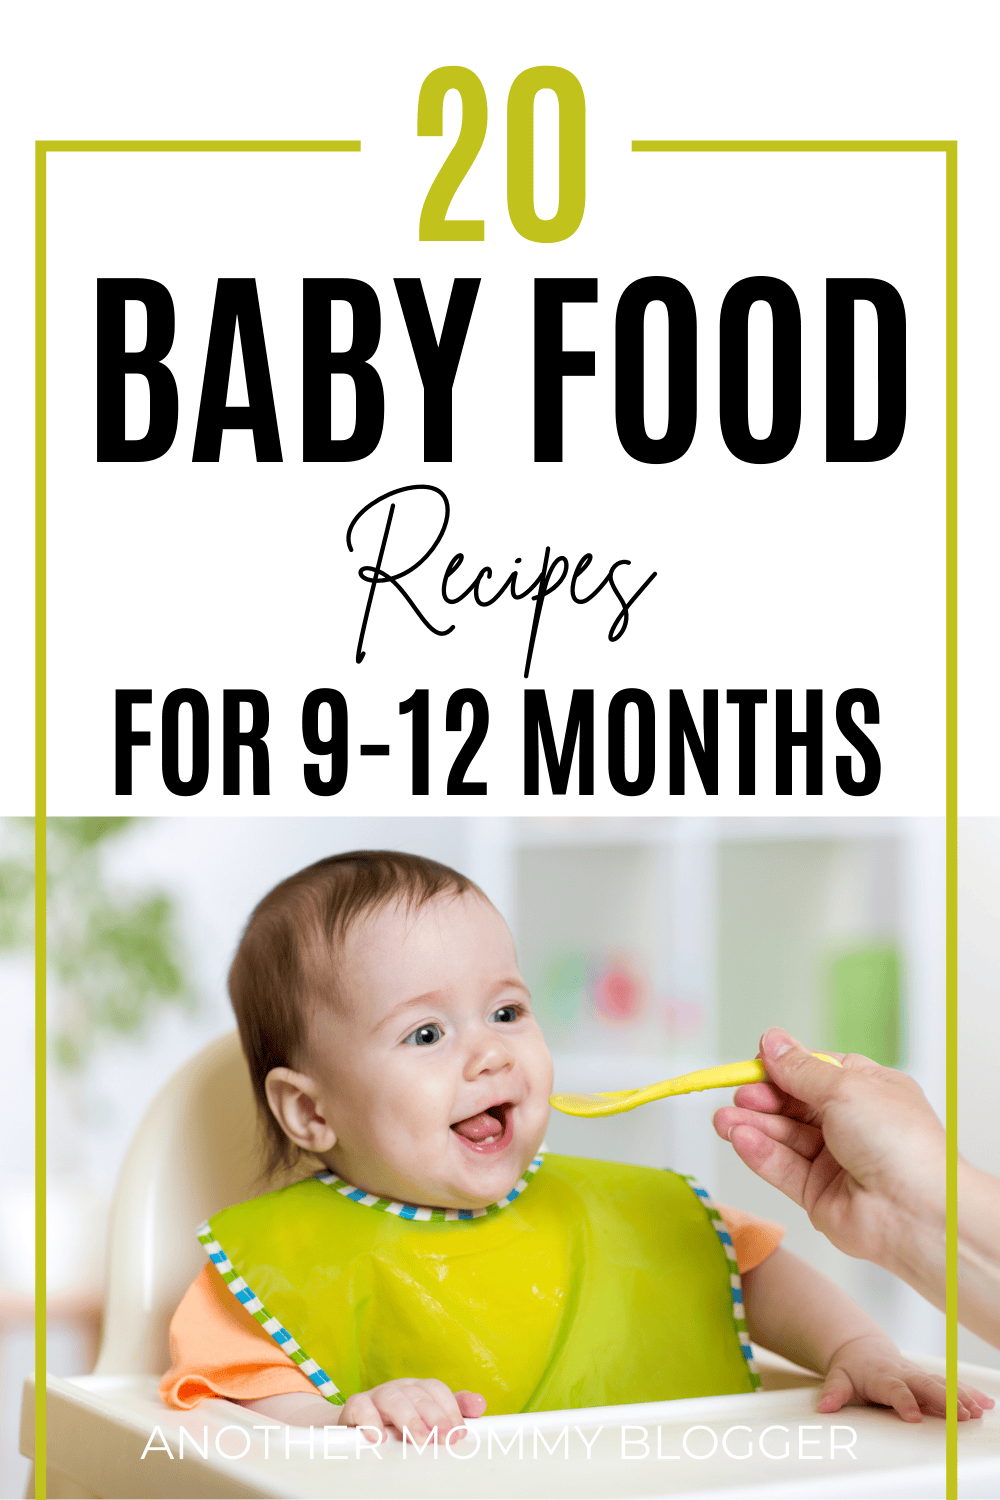
Plus I’m sharing my top 20 best stage 3 baby food recipes for 9-12 month olds!
This post contains affiliate links. For more information, please read my disclosure here.
Stage 3 Baby Food
After reading reports of toxic heavy metals in store bought baby food I feel like I’ve been on a roller coaster of a ride searching for the best foods to feed my baby.
I tried out a baby food delivery service and you can read about that disaster here. After that failed me I learned how to make stage 3 baby food because I felt that was the safest and most healthy option for our Hailee.
Before I share these recipes for stage 3 baby food let’s go over a few frequently asked questions about making your own baby food.
What is stage 3 baby food?
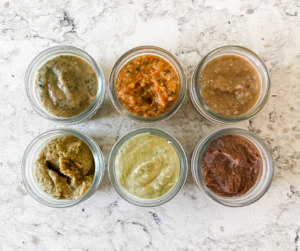
Stage 3 baby food is thicker puréed food with small soft chunks that are easy for baby to chew.
Stage 3 purées allow baby to safely explore new textures from the same foods they’ve been enjoying. These new soft chunks will helped further develop babies chewing skills to get them ready for finger foods.
These thicker mashed foods with a lot of texture also pack a blend of flavors due to their multi ingredient recipes.
What ages is stage 3 baby food for?
You’re probably wondering, when can I give my baby stage 3 foods? When is it safe for baby to start chewing soft chunks of food?
As always consult with your pediatrician and ask if your baby is ready for stage 3 baby foods first. This is usually between 9-12 months of age and around the time baby is able to crawl with their belly off the floor.
What is the difference between stage 2 & stage 3 baby food?
Stage 2 baby food is a little thicker than stage one. It also has two ingredients as opposed to one.
Stage 3 baby food is different because it’s even thicker than stage two and it has the small soft chunks. Stage 3 baby food also can have more than two ingredients to introduce your baby to a variety of different blends of flavor.
How to make stage 3 baby food?
Don’t know how to make stage 3 baby food? It’s actually very simple and similar to the first two stages.
Simply steam fruits and vegetables until they are very soft. Then put them in a blender until the consistency is thick and chunky. You can also add cooked grains like quinoa, amaranth, rice etc.
I used a steamer and my Cuisinart to make my stage 3 baby food. But there are baby food makers out there that can make things a little easier and faster.
20 Stage 3 Baby Food Recipes For 9-12 Months
You may notice that I didn’t include measurements for these recipes. This was my first time making homemade baby food and it was a trial and error process for me.
I added ingredients until I got the consistency I was looking for. I did list the ingredients in order of most to least. Definitely go very light on the spices.
Apricot Banana Pudding
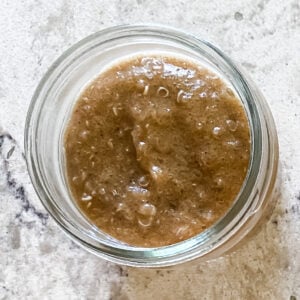
Sweet Adzuki Bean Porridge
- Adzuki bean
- Sweet potato
- Apple
- Date
- Cinnamon
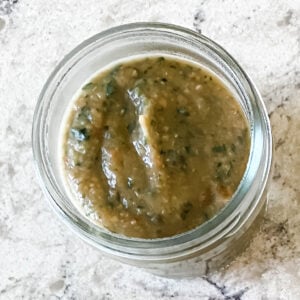
Minty Cauliflower Pea Soup
- Peas
- Cauliflower
- Coconut milk
- Mint
- Parsley
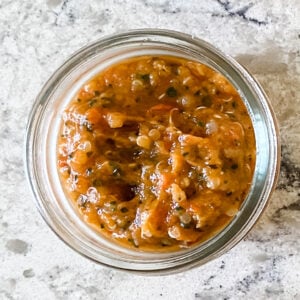
Ratatouille
- Pear
- Zucchini
- Yellow squash
- Sweet Potato
- Tomato
- Red bell pepper
- Eggplant
- Kale
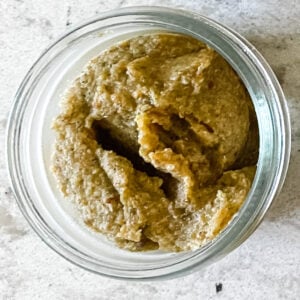
Polenta Mushroom Raghu
- Carrot
- Polenta
- Mushroom
- Tomato
- Onion
- Garlic
- Oregano
- Parsley
Coconut Chia Pudding
- Japanese sweet potato
- Butternut squash
- Apple
- Chia seeds
- Coconut milk
- Vanilla
Bell Pepper Apple Mash
- Sweet potato
- Apple
- Red bell pepper
- Quinoa
- Chard
Mushroom Spinach Medley
- Adzuki Bean
- Quinoa
- Mushroom
- Spinach
- Garlic
Kale Pear Quinoa Bowl
- Pear
- Chickpeas
- Quinoa
- Kale
Broccoli Mash Bowl
- Sweet potato
- Broccoli
- Apricot
- Amaranth
- Flaxseed
Squash Quinoa Combo
- Butternut Squash
- Quinoa
- Kale
- Flax Seed
- Spirulina
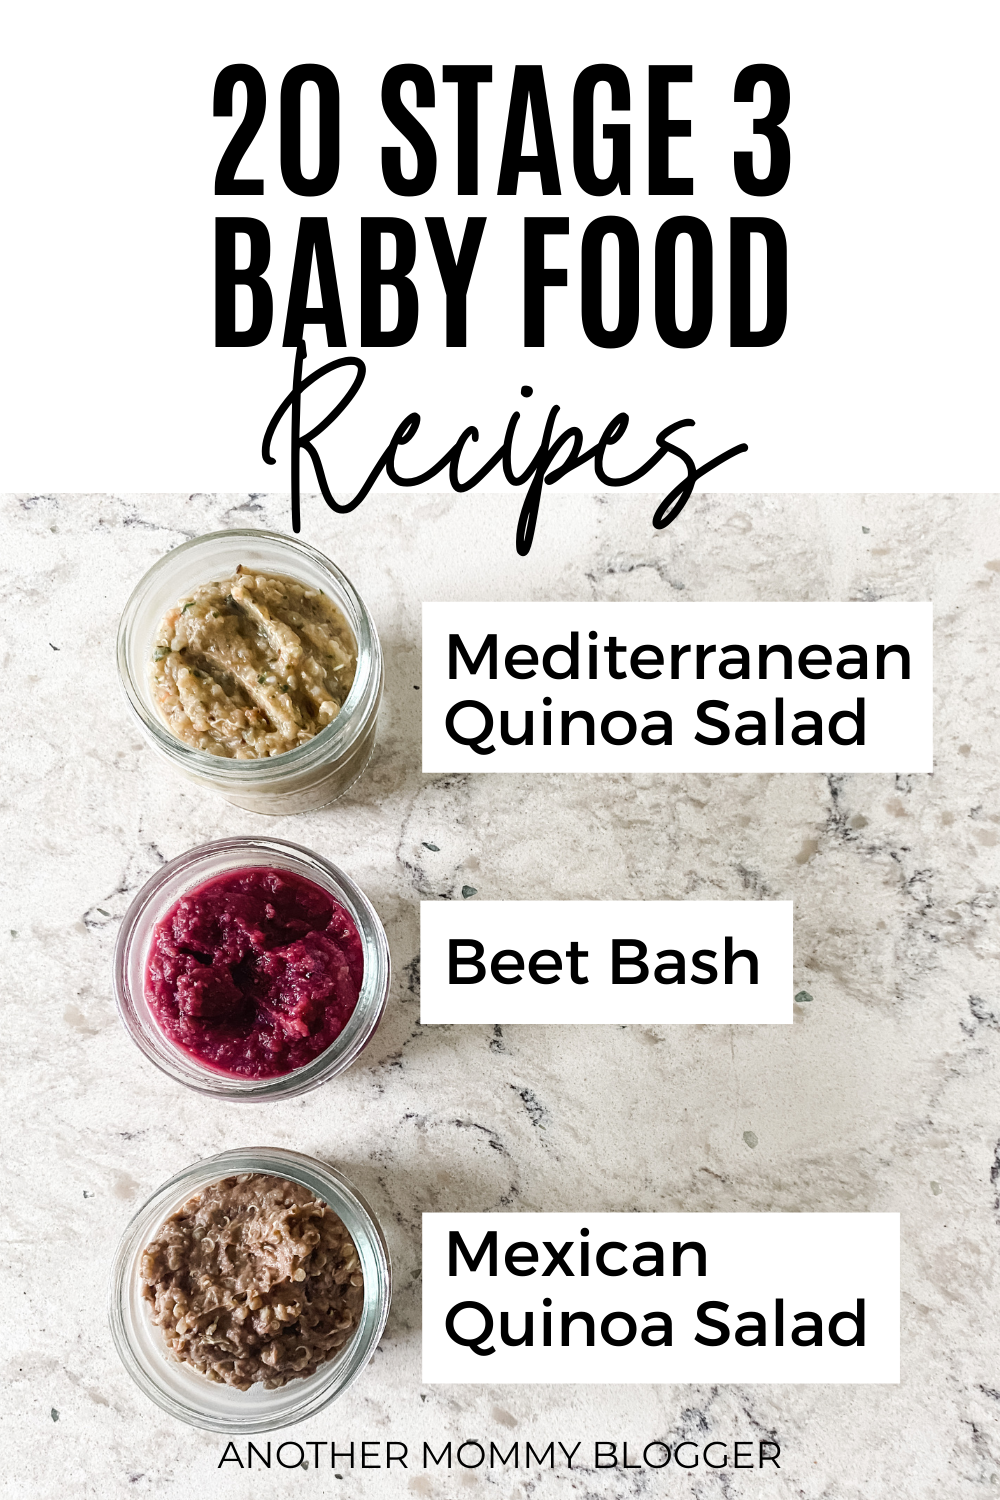
Mediterranean Quinoa Salad
- Chickpeas
- Cucumber
- Quinoa
- Tomato
- Olives
- Parsley
- Ginger
Mexican Quinoa Salad
- Black beans
- Avacado
- Tomato
- Quinoa
- Corn
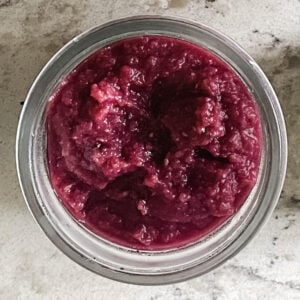
Beet Bash
- Beets
- Apple
- Chickpeas
- Lentils
- Mint
- Garlic
Kale Carrot Salad
- Carrots
- Chickpeas
- Beets
- Kale
- Lemon juice
- Ginger
Asian Quinoa Salad
- Carrots
- Cabbage
- Quinoa
- Almond Butter
Hearty Green Bean Salad
- Pumpkin
- Green beans
- Quinoa
- Tomato
- Almond butter

Cucumber Quinoa Salad
- Cantaloupe
- Cucumber
- Quinoa
- Lemon juice
- Basil
Creamy Amaranth Corn Chowder
- Corn
- Amaranth
- Quinoa
- Red bell pepper
- Celery
- Coconut milk
Chili Bowl
- Zucchini
- Kidney Beans
- Tomato
- Lentils
- Red bell pepper
- Celery
- Garlic
Understanding Stage 3 Baby Food
In Stage 3 baby food, your child is getting ready for more solid foods with thicker textures and new ingredients.
This is an exciting time for growth, offering a variety of nutrient-dense options.
The Progression from Stage 2 to Stage 3
At this stage, your baby is usually around 9 to 12 months old, nearing their first birthday.
They have likely been eating Stage 2 foods, which are purées with a slightly thicker consistency.
The transition to Stage 3 involves introducing thicker mashed foods and soft finger foods.
These foods help your baby practice chewing and develop their oral skills.
You will see that Stage 3 foods include small, soft chunks of fruits, vegetables, and grains.
Babies need to get used to these textures. It’s important not to rush this stage.
Each baby progresses at their own pace, and patience is key.
The variety of ingredients and textures you offer now will pave the way for them to enjoy many different foods in the future.
What Sets Stage 3 Foods Apart
Stage 3 baby foods are thicker and chunkier than Stage 2 foods.
They help your baby get used to more solid foods.
This stage includes a mix of thicker purées, small soft chunks, and finger foods.
This encourages chewing, which is great for developing their teeth and jaw muscles.
Not only are the textures different, but the ingredients are also richer and more varied.
Your baby will start to enjoy a broader range of nutrient-dense foods, including small pieces of cooked vegetables, soft fruits, and mashed grains like quinoa or rice.
Special attention is given to balancing flavors while ensuring the nutrition needed for their growth.
Offering a mix of these foods will help your baby build a more adventurous palate.
Experiment with different combinations to find what they like best.
Remember to always supervise them during meals to ensure they are chewing properly and not struggling with the new textures.
Essential Nutrition for Your Baby
Ensuring your baby gets the right nutrition is key to their growth and development.
It’s important to focus on key nutrients, consider the benefits of organic and homemade foods, and introduce a variety of foods for a balanced diet.
Key Nutrients for Growth and Development
Babies need a range of nutrients to support their rapid growth.
Iron is crucial for brain development and can be found in meats like chicken and beef, as well as in beans and lentils.
Calcium helps build strong bones and teeth and is often found in yogurt and leafy green vegetables.
Your baby also needs healthy fats for brain development. Avocados and olive oil are good choices.
Vitamins like Vitamin C help boost the immune system and can be found in fruits like oranges and strawberries.
Why Organic and Homemade Matter
When you choose organic and homemade baby foods, you avoid pesticides and artificial additives, making meals more nutritious.
Organic foods often have higher levels of certain nutrients. Plus, you’ll have the peace of mind knowing exactly what’s in your baby’s food.
Preparation methods matter too.
Steaming veggies retains their nutrients better than boiling.
Using fresh, seasonal fruits and vegetables can make homemade baby foods both nutritious and tasty.
Store-bought options can be convenient, but making your own lets you control the quality and variety.
Introducing Variety for a Balanced Diet
Offering a wide range of foods helps ensure your baby gets all the nutrients they need.
Mix in colorful fruits and vegetables like blueberries and sweet potatoes.
Whole grains like oats and quinoa provide important fiber and vitamins.
Try to include different textures and flavors to keep your baby interested.
Soft-cooked meats and fish add essential proteins and healthy fats to their diet.
By exposing them to various foods, you’ll help them develop a taste for diverse, nutritious options.
Incorporate fun combinations like pumpkin and rice or avocado and spinach.
It keeps meals exciting and encourages healthy eating habits.
Don’t shy away from herbs and mild spices; they can make meals more interesting and flavorful.
The Art of Pureeing and Mashing Foods
Transitioning your baby to stage 3 foods involves creating purees with varied textures and introducing finger foods. This helps your little one develop their chewing skills and prepare for solid foods.
Creating the Perfect Texture for Stage 3
For stage 3 baby food, you want to create textures that are mixed and chunky.
Start by cooking fruits and vegetables until they are very soft.
Use a blender or food processor to blend them.
Instead of a smooth puree, aim for a thicker and slightly chunky consistency.
Introduce soft grains like quinoa, rice, or amaranth.
Mix these with the pureed fruits and vegetables.
Adding a small amount of cooked meat, like chicken or beef, can provide extra nutrition and introduce new flavors.
Don’t be afraid to add spices in small amounts.
Mild flavors like cinnamon or nutmeg can make the food more interesting.
Finger Foods and Advanced Textures
As your baby gets used to chunkier purees, start mixing in more finger foods.
Cut soft fruits like bananas, avocados, and cooked vegetables into small, manageable pieces.
Let your baby pick them up and chew.
You can also include small pieces of soft bread, pasta, and cheese.
These foods help your baby practice chewing and improve their hand-eye coordination.
Use preloaded spoons to help your baby feed themselves.
This encourages independence and helps with motor skills.
Always supervise closely to ensure safety while they handle the new textures and foods.
The Convenience of Storage and Preparation
Storing and prepping homemade baby food can be easy and time-saving. Knowing how to properly store and prepare your baby’s meals ensures freshness and convenience.
Storing Homemade Baby Food
When you make your own baby food, storage is key.
Use airtight containers to keep the food fresh in the fridge. You can usually store it there for up to 3 days.
If you want to store it longer, freeze it in small portions. Ice cube trays are great for this.
You can also use reusable pouches for easy serving.
These pouches are convenient for traveling and can be washed and used again.
Just fill them with your homemade blends and freeze them.
Label everything with the date made so you know when it’s time to use or toss.
Organizing your fridge and freezer with a section just for baby food can also help keep things neat and easy to find.
Meal Prep Tips to Save Time
One of the best ways to save time is by cooking in batches.
Choose a day of the week to cook and blend several meals at once.
Store these meals in the fridge or freezer using your airtight containers or reusable pouches.
Using a baby food maker can also speed up the process.
These devices often steam and blend food in one container, saving you from extra dishes.
Meal prepping grains like quinoa or rice can also be done in large batches and added to different meals throughout the week.
Another tip is to keep your ingredients simple.
Steaming and blending fruits and veggies like sweet potatoes, carrots, and peas is quick and easy.
Plus, adding a little cinnamon or mixing in yogurt can change up the flavors without much extra effort.
Keeping a list of your baby’s favorite recipes handy can also help you decide what to make without spending too much time thinking about it.
Exploring Flavors and Spices
Introducing spices and merging sweet and savory flavors in your baby’s diet can be a fun adventure. Using ingredients like cinnamon, sweet potatoes, and chicken can create tasty and nutritious meals.
Introducing Your Baby to Spices
Start with mild spices like cinnamon and nutmeg.
These can bring out the natural sweetness in foods like sweet potatoes, butternut squash, and apples.
Sprinkle a tiny pinch of cinnamon on steamed carrots or add it to mashed pears.
You can also try a gentle dash of nutmeg in a smooth blend with butternut squash.
Make sure to introduce one spice at a time and watch for any potential allergies.
This way, you can easily identify which spice they enjoy.
Always keep the spices mild; your goal is to enhance flavors, not overwhelm them.
Tiny amounts can make a big difference in taste without being too strong.
Merging Sweet and Savory Flavors
Combining sweet and savory flavors helps your baby experience different tastes.
Mix fruits like apple and pear with chicken or cooked farro.
This combination is both nutritious and delightful.
Start with a simple recipe like mashed sweet potatoes with shredded chicken.
Another great option is to blend cooked carrots with a small piece of soft chicken and a ripe pear.
This mix can be turned into a thicker puree or left slightly chunky.
You can also serve blueberries with a dollop of plain yogurt for a sweet yet tangy treat.
Transition tips for moving forward
Moving from purees to table foods can be a big step for you and your baby. It’s important to know how to make this transition smooth and address any concerns you might have.
Weaning: From Purees to Table Foods
When your baby reaches about 8-10 months, you can start thinking about introducing table foods.
Begin by offering small, soft, and mashed foods like bananas, avocado, and steamed veggies.
Tip: Make sure to cut foods into small pieces to prevent choking.
At this stage, textures play a crucial role.
Gradually move from smooth purees to mashed and then soft chunks. This helps your baby learn to chew and manage different textures.
Using preloaded spoons can help babies get used to self-feeding while still controlling how much they eat.
Introducing finger foods like small pieces of cooked pasta or soft fruits also encourages independence.
Answering Common Concerns About Feeding Stages
You might have questions about when to start certain foods or how to know if your baby is ready. Typically, babies show readiness by sitting up well and showing interest in your food.
It’s normal to worry if they will eat enough. Trust their hunger cues and offer a variety of foods. If they reject something, try again later.
Wondering about allergies? Introduce new foods one at a time and watch for reactions. This method makes it easier to identify any allergens.
Also, remember the importance of patience. Every baby moves through these stages at their own pace. As long as they’re getting a balanced diet, there’s no need to rush.
Special Considerations for Baby’s Diet
As your baby grows and starts eating stage 3 foods, it is important to ensure their diet is balanced and safe.
Pay attention to potential allergies and making sure they are still getting the nutrients from breastmilk or formula.
Allergies and Sensitivities
When introducing new foods, be cautious of allergies and sensitivities.
Introducing potential allergens like eggs, nut butter, and dairy products like yogurt in small amounts is vital. Observe for any reactions such as rashes, swelling, or digestive issues.
If a family history of allergies exists, consult your pediatrician before adding new foods.
Introduce one new food at a time and wait 3-5 days before trying another. This way, if your baby has a reaction, you can easily identify the cause.
Also, watch for sensitivities that might not be full-blown allergies but could still cause discomfort.
Foods such as berries or tomatoes can sometimes cause mild irritations. Keep a log of foods and any reactions to help monitor your baby’s tolerance.
Balancing Breastmilk or Formula with Solids
As your baby reaches around 9 months, they begin eating more solid foods, but breastmilk or formula should still be a significant part of their diet.
These provide essential nutrients that solids alone might not cover.
Offer solids two to three times a day while maintaining regular breastmilk or formula feedings.
Stage 3 foods should be chunky and thicker to help teach your baby how to chew and swallow different textures. Examples include mashed potatoes, oatmeal with small fruit pieces, and soft cooked vegetables.
Ensure your baby gets a variety of foods, including proteins, grains, and vegetables, to meet their nutritional needs.
Solids should complement but not replace milk feedings entirely, as your baby still relies on breastmilk or formula for critical nutrients and calories, especially if they’re showing strong hunger cues.
Frequently Asked Questions
Here are some common questions and answers about Stage 3 baby food. Learn what to include, when to start, and how to ensure your baby enjoys their meals.
What can I include in recipes for a 9-month-old’s Stage 3 baby food?
You can include a mix of soft fruits and vegetables, like sweet potatoes and strawberries, and cooked grains such as quinoa or rice.
At what age should I introduce Stage 3 baby food to my baby?
Stage 3 baby food is typically introduced around 9-12 months, but you should always check with your pediatrician if you’re unsure.
How do I incorporate meat into Stage 3 baby food?
Cook the meat until it’s very soft. Chop it finely or blend it into sauces and purees. You can mix it with vegetables or grains to make it easier for your baby to eat.
Are there any finger foods recommended for Stage 3 weaning?
Yes, small pieces of soft fruits, steamed vegetables, scrambled eggs, or soft grains are great finger foods for this stage.
What textures should I expect in Stage 3 baby food?
Expect thicker, chunkier textures. The food might have small pieces for your baby to chew, promoting better oral development.
How can I tell if my baby is ready to progress from Stage 2 to Stage 3 foods?
Signs include being able to sit up without support and showing interest in your food.
They should also be able to handle thicker, chunkier textures well.
What do we think of these stage 3 baby food recipes?
Hailee has been such a good sport testing out all of my baby food creations and I’m glad to report that she likes them all!
Let me know if you end up making any of these recipes. Tell me how it went and what your baby likes or doesn’t like in the comments below!
You Might Also Like
Breastfeeding Weight Loss Meal Plan: 100+ Meal Ideas
40 Foods To Avoid While Breastfeeding